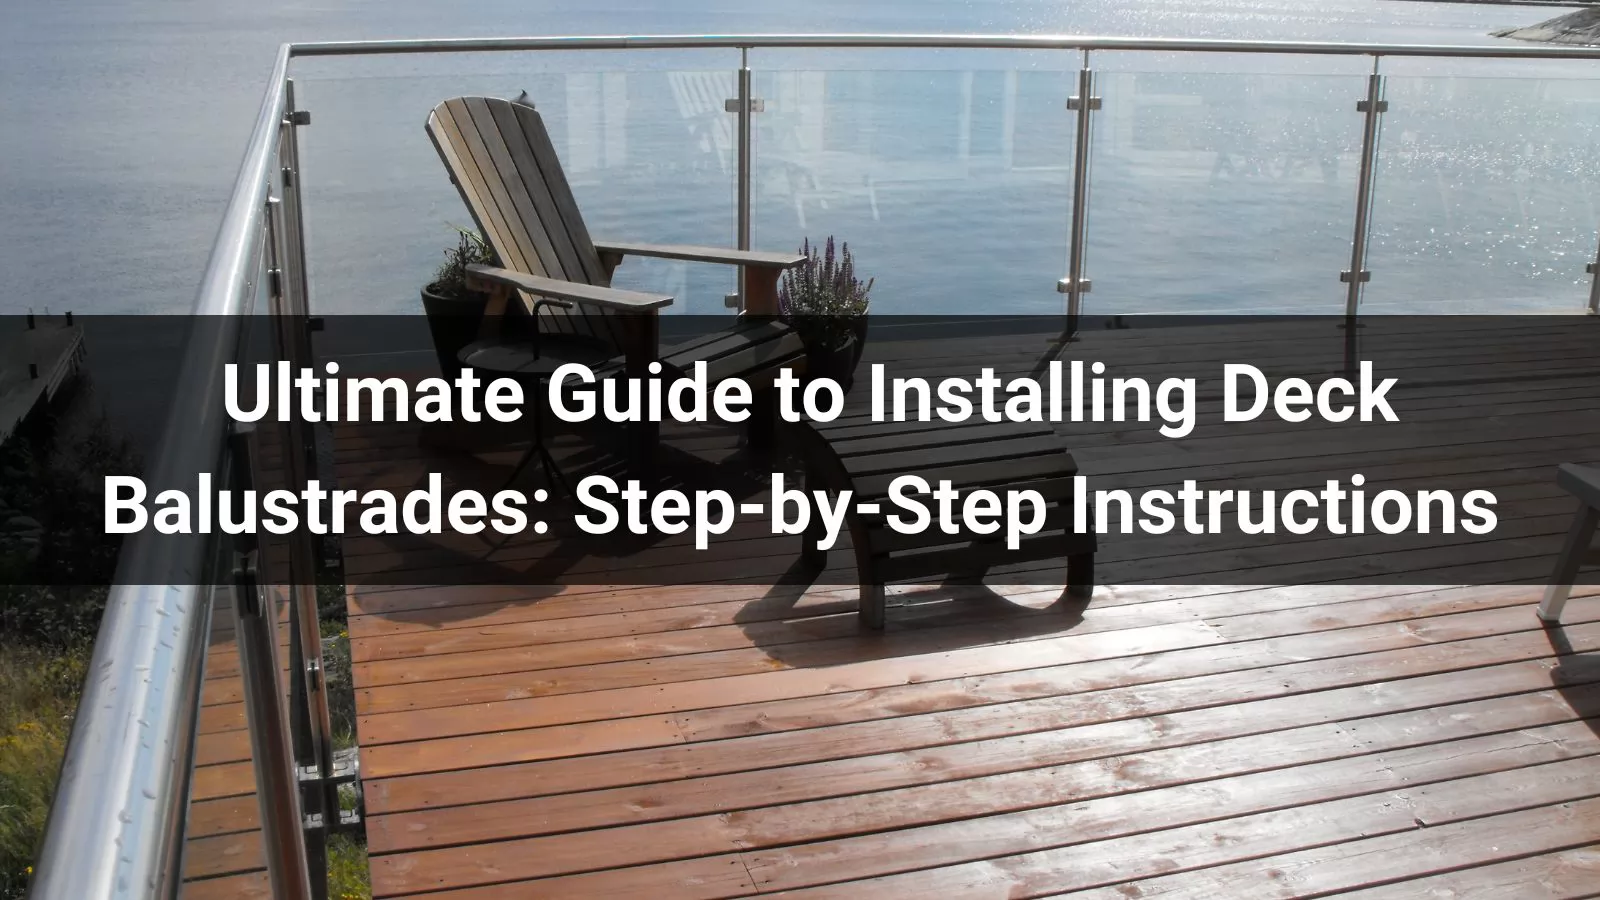
Balustrades are a key feature in ensuring the safety, functionality, and aesthetic appeal of your deck. Whether you're building a new deck or upgrading an existing one, installing a balustrade system is a valuable project. In this guide, we'll walk you through each step of the process, from planning to installation, so you can confidently add this feature to your deck.
Balustrades not only enhance the visual appeal of your deck but also serve as essential safety features. They prevent accidental falls, especially for children and pets, and are often required by local building codes when decks are above a certain height. In addition to providing security, balustrades offer a finishing touch that complements your deck's design, whether you opt for traditional wood or modern glass. Installing a balustrade ensures compliance with safety regulations while elevating the overall look of your outdoor space.
Before starting the installation, it's crucial to select the right materials. Wood is a classic choice for its versatility and natural look, while materials like aluminum and vinyl are more modern and require less maintenance. For a sleek, contemporary appearance, glass balustrades are a great option. Depending on the style you choose, you will need the following materials:
Choose materials that fit your style, budget, and long-term maintenance preferences.
Before jumping into the installation process, careful planning is crucial. Start by measuring the perimeter of your deck to determine the total length of the balustrades you need. This will help you figure out how many posts, rails, and balusters you'll require. Make sure to check local building codes for regulations on balustrade height and baluster spacing. Typically, the height of the top rail should be around 36 to 42 inches, and the space between balusters should not exceed 4 inches to ensure child safety. Once you have the measurements, decide on the design style you prefer. Whether it's traditional, modern, or minimalistic, this will determine the materials and look of your balustrades.
A clean and level surface is vital for the success of your installation. Begin by cleaning the area where the balustrades will be mounted, removing any dirt, debris, or leftover paint. Afterward, measure and mark the locations for the posts along the deck edge, ensuring they are spaced evenly (usually 6 to 8 feet apart). You can use a measuring tape and chalk line to mark straight lines, which will make it easier to install the posts correctly. Double-check your measurements to ensure accuracy, as this will impact the alignment and appearance of the entire balustrade system.
The posts are the backbone of your balustrade system. Begin by placing the posts at the marked locations along the deck perimeter. For optimal strength, you should secure the posts directly to the deck frame. Depending on the material you are using, you may need to pre-drill holes to attach the posts with screws or bolts. Make sure the posts are aligned vertically and securely fastened, as they need to withstand the weight of the entire balustrade system. It's crucial to use a level to ensure each post is perfectly upright, as this will affect the straightness and overall look of your balustrade.
The bottom rail supports the balusters and helps align them properly. Start by measuring the distance between the posts and cutting the bottom rail to the correct length. Once cut, position the rail between the posts at a suitable height (usually around 4 inches above the deck surface) and secure it in place with screws or brackets. Be sure that the rail is level and evenly positioned, as this will form the base for your baluster installation. If your balustrades are going to be subjected to high traffic or harsh weather conditions, reinforcing the bottom rail with additional supports may be necessary.
Balusters are the vertical components that provide the structure and design of your deck balustrade. Start by cutting the balusters to the required height based on your earlier measurements. Next, attach the balusters between the top and bottom rails, securing them with screws or nails. It's important to space the balusters evenly, typically around 4 inches apart, to meet safety codes and prevent small objects from falling through. To ensure the spacing is uniform, use spacers or a template to maintain consistent gaps. Depending on the material, you may need brackets or clips for glass balusters, or you can directly screw wooden or metal balusters into place.
The top rail adds a finished look and extra support to your balustrade system. To install it, measure and cut the top rail to the appropriate length, ensuring it matches the width of the deck. Once cut, attach the rail securely to the posts and balusters using screws or brackets. Make sure the top rail is aligned with the bottom rail and is level for a professional, clean finish. If desired, you can add post caps to the tops of the posts, which not only enhance the appearance but also protect the posts from the elements.
Once the rails, posts, and balusters are installed, it's time to add the finishing touches. For wood balustrades, apply a coat of paint or stain to enhance the appearance and protect the wood from moisture and sun damage. For metal or vinyl materials, you may not need a finish, but it’s always a good idea to check if they require any protective coatings to prevent rust or fading. Once the finishing touches are applied, clean the area, removing any dust, debris, or excess materials. Step back and inspect the balustrade to ensure everything is aligned and secure.
Congratulations! You’ve successfully installed your deck balustrades. This added feature not only improves the safety of your deck but also enhances the overall aesthetic of your outdoor space. Regular maintenance is essential to keep the balustrades looking great, especially if you’ve used wood or metal materials. Periodically check for loose screws or signs of wear, and clean the balustrades to maintain their appearance. With your new deck balustrades, you can now enjoy your outdoor area in comfort and style.
By following these steps, you’ll be able to install a high-quality deck balustrade that adds both safety and beauty to your deck. Whether you choose wood, metal, or glass, the process is straightforward and rewarding. Happy building!
Traditional wood decking has long been the material of choice for outdoor spaces, but as homeowners seek more durable, low-maintenance, and eco-friendly solutions, decking alternatives have gained popularity. The material you choose should fit your aesthetic preferences, budget, and long-term maintenance goals.
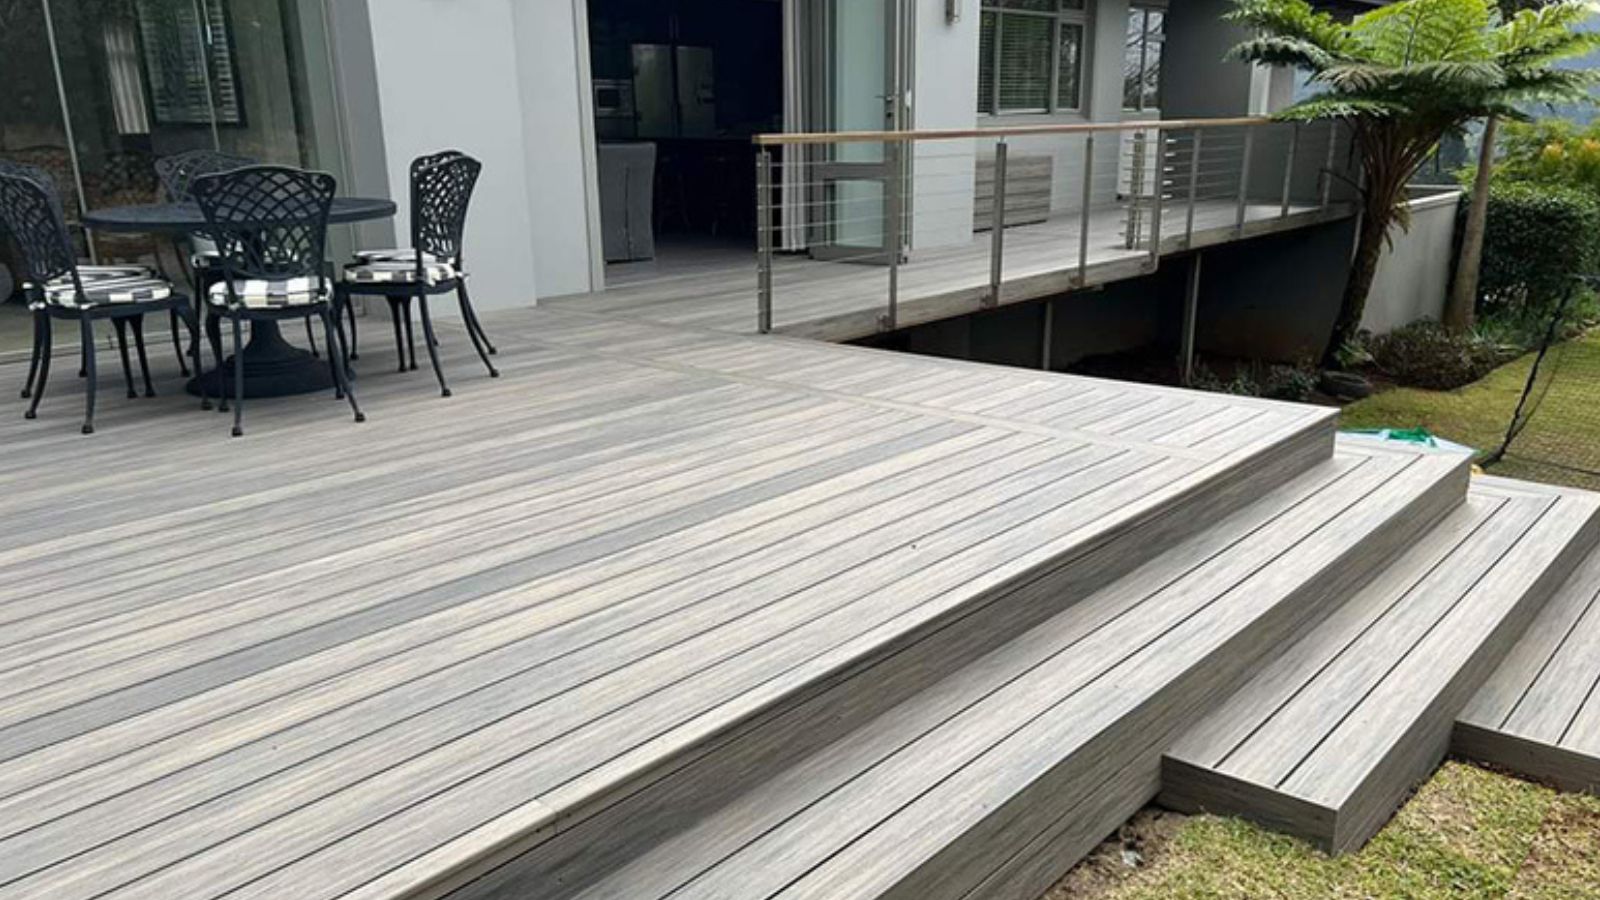
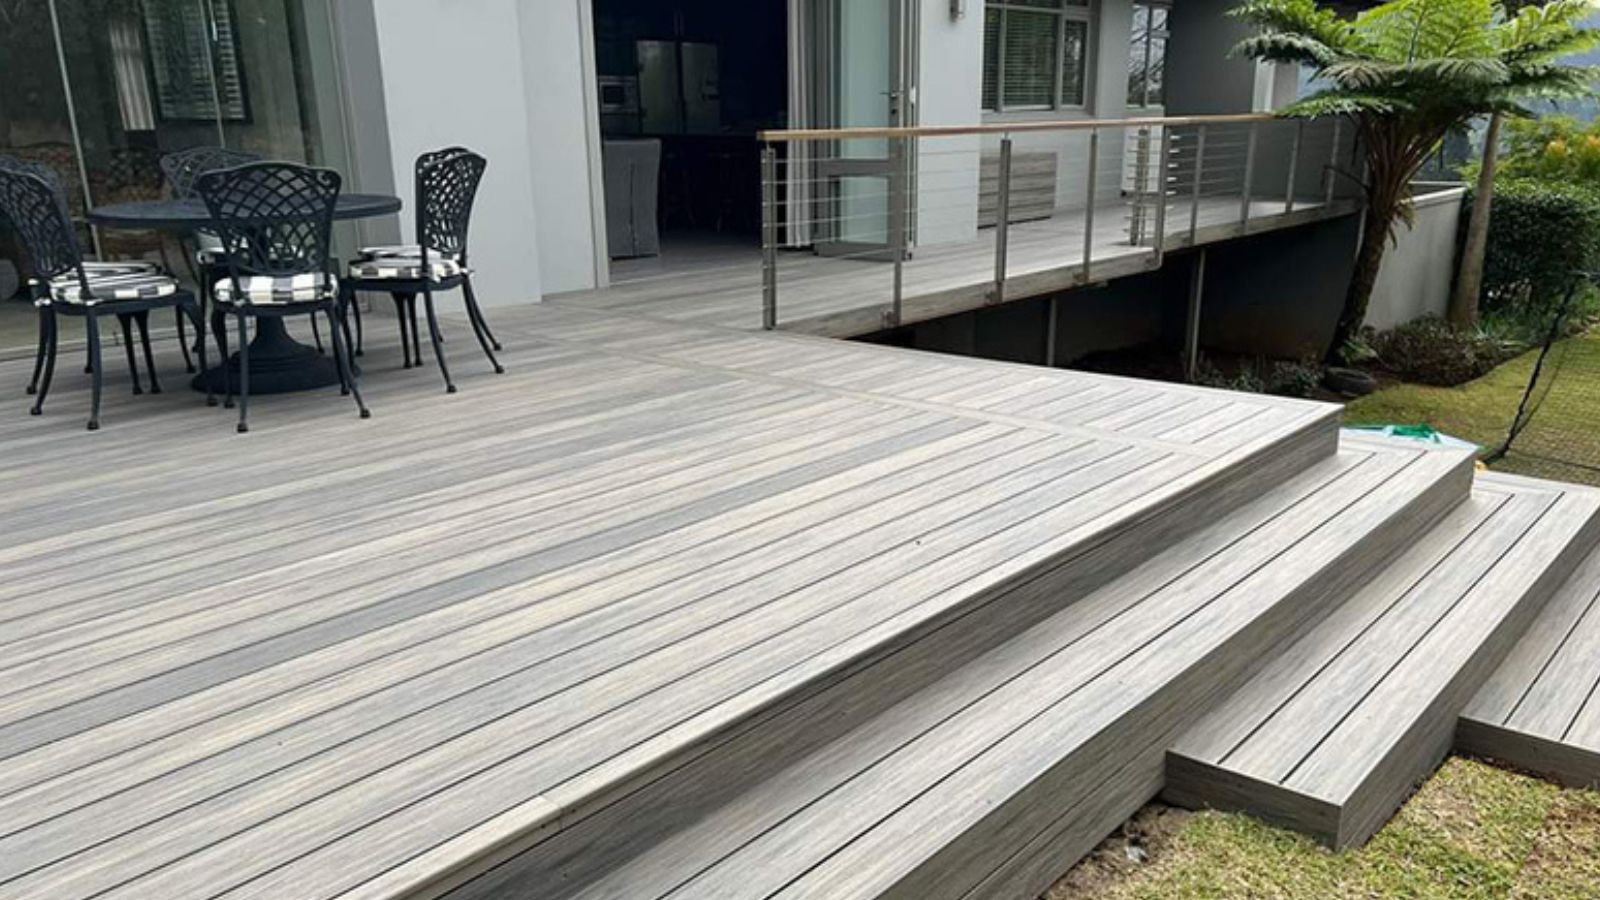
Consider materials like composite decking for durability, bamboo decking for an eco-friendly option, or poured concrete for a budget-conscious solution. No matter your needs, there is an alternative that suits your outdoor living space.
Unifloor offers high-quality composite decking as a versatile and practical option. Visit our website to explore more about our decking solutions and find the perfect fit for your outdoor project.
READ MORE:
Is Co-Extrusion Decking the Right Choice for You? - LVSENWOOD
Essential Tips for Choosing the Perfect Decking Balustrade Height - LVSENWOOD
Top 10 WPC Materials and WPC Fence Manufacturers in China 2024 - LVSENWOOD


